

As a current member of The All A-Board Artists, each month you will have access to a live workshop, only available to AABA members and not to be found anywhere else in Ali’s tuition. Below this text, you will find the reference material you will need, an equipment list, and the details of how to attend.
Please ensure that you allow yourself plenty of time to prepare for the session.

July Live Workshop event:
WEDNESDAY 16TH choose between 10:00 - 12:30 or 18:00 - 20:30
The sessions will differ, they will either address different media, different surfaces or different reference points.
The session will take place on Zoom, please make sure you are well acquainted with
the application before attending a meeting.
If your technology can join automatically, please click on this link:
https://us02web.zoom.us/j/84462444022
You may need to enter the details automatically:
Meeting ID: 844 624 44022
Passcode: 716698
A ‘Waiting Room’ system will be in operation, Ali will let you in approximately ten minutes before the session is due to start. Please note that should your internet connection fail or you have to leave the session, you will need to wait for a convenient pause in her demonstration before you can be admitted again.
If you need to leave and then return, we suggest that you mute your audio, turn off your camera, but remain logged in to the session so that you can pick up the tuition when you need to come back.
If you are a Prussian Blue, Cobalt Turquoise or Antique Gold member you are welcome to attend your live tutorial in person at the studio. Please read the specific section of the Ts and Cs before booking.
Reference and preparation
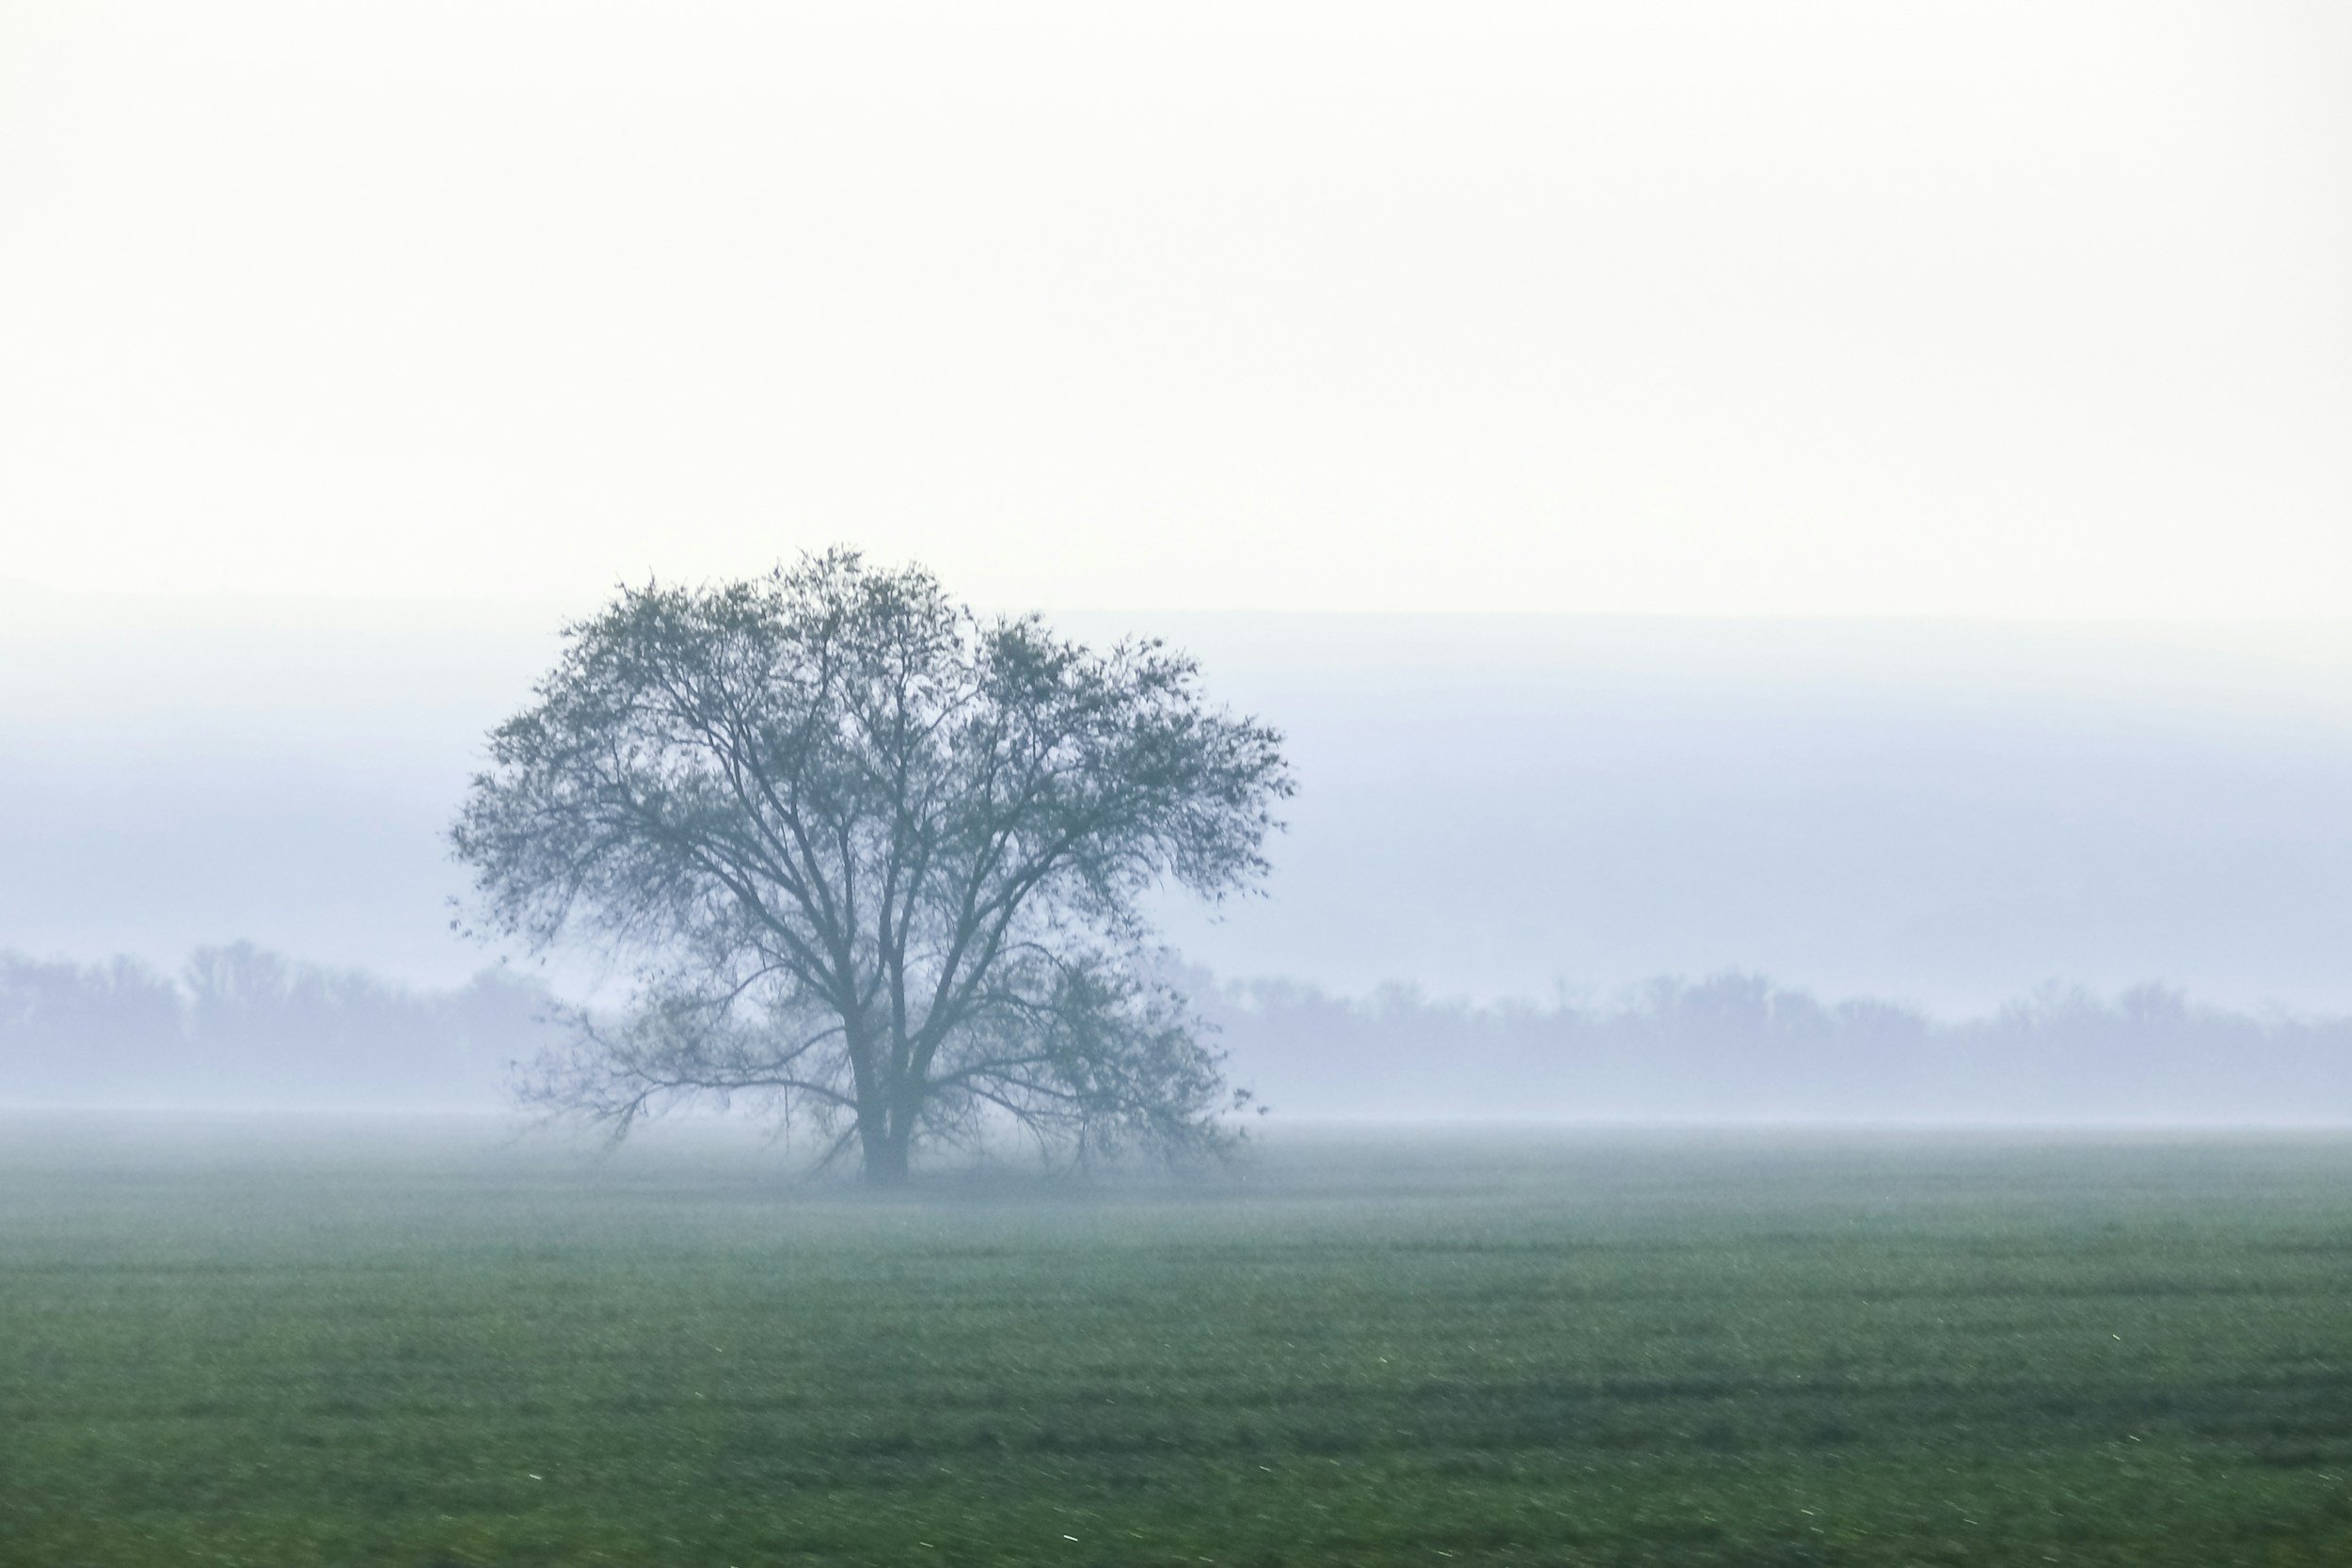
Please download and print the following image/s in plenty of time for your session:
10:00 session: Graphite
18:00 session: Charcoal

AM: Graphite
Download HERE
PM: Charcoal

Download HERE
This image(s) are just a suggestion, you are welcome to use them on the day or provide your own. Please make sure any images you use while attending this tutorial are free from copyright.
Printing Advice:
We recommend that you print these images out in approximately A4 size as that is an achievable size of painting on the day. You are of course welcome to increase or decrease the image as you feel is appropriate to your skill level.
Every smartphone, tablet, laptop and desktop has a different way of managing how it downloads images and where it puts them on your system. This is also the same for brands and models of printers so it is essential to the success of acquiring these images, that you refer to the manuals or help forums for your particular devices. We will try to be as helpful as we can with advice but as we cannot see what you are seeing on your screen, it makes it nearly impossible to assist you effectively.
If you would like us to print and post these images to you, we are very happy to do that, all we ask is that you send an A4, self-addressed and correctly stamped board backed envelope to ‘Workshop Image Request’ c/o Downend Farm Studio, 3 Downend Farm, Bushes Road, Stourpaine, Dorset, DT11 8SY with a note as to which workshop you are requesting the images for. Please be aware that we need at least two weeks ahead of your session to complete this task, and if the self-addressed envelope does not have the correct amount of postage fixed to it, it may not reach you.
What you will need to bring, please feel free to use variations to suit your budget or particular situation, exact replication of the materials is not essential for the success of your piece.
The photograph(s) either printed out or visible on a device
The photograph printed out in black and white BUT NOT transferred to your paper.
PLEASE BE AWARE OF THE SIZE THAT YOU PRINT OUT THE PHOTOGRAPH, THE LARGER IT IS, THE BIGGER AND POTENTIALLY MORE WORK YOUR PAINTING WILL REQUIRE. The choice is yours as to what size you would like to do it, as a guide Ali will be printing out in varying sizes depending on how she feels she wants to respond to each project.A way of transferring it to your surface such as Tracedown and a biro
Something to lean on approx. 17x13 inches such as a drawing board, a flat tray, piece of wood, cardboard etc. You may wish to paint larger so please have equipment to match the size of your surface.
Something to slightly tip up your surface – a drawing board rest, slope, a pencil case, rolled up newspaper etc.
A surface that will take multiple layers of dry media. This could be pastel paper, a toothed cartridge paper or a specialist surface such as Pastelmat. The choice of colour is up to you but Ali advises something light such as white, grey or buff.
You will need an old/spare piece of paper that matches the surface you choose to use for this tutorial. There will be techniques you will want to practice before doing them on your main painting.
Framers tape/masking tape/low tac tape (for attaching things or creating a border)
Kitchen Roll and disposable hand wipes
Spray Bottle – an old one repurposed for water is fine, make sure it delivers a fine mist
Pencil & Eraser (putty and/or plastic) plus a battery eraser if you have one
Stylus for indenting the paper or an old knitting needle/crochet needle. You could try something like a cocktail stick or skewer but test that it is up to the job and doesn’t scratch the surface
Blending tools: A paper stump or specific blending tools used for pastel
Sandpaper, fine grade
Graphite: In any shape or form you have it, pencils, sticks (not watersoluble), powder (although we will be making our own) in any soft grades, ideally a range but if you don’t have many or wish to purchase some then B, 2B, 4B, 6B in pencils would be good. Graphitint won’t work for this tutorial but you can use it for other experiments in other membership levels this month.
Small pot or jar to store your graphite powder when we have made it.
A notebook to jot down anything important as we go along plus a camera or smartphone to record your progress
AM: Graphite
PM: Charcoal
The photograph(s) either printed out or visible on a device
The photograph printed out in black and white BUT NOT transferred to your paper.
PLEASE BE AWARE OF THE SIZE THAT YOU PRINT OUT THE PHOTOGRAPH, THE LARGER IT IS, THE BIGGER AND POTENTIALLY MORE WORK YOUR PAINTING WILL REQUIRE. The choice is yours as to what size you would like to do it, as a guide Ali will be printing out in varying sizes depending on how she feels she wants to respond to each project.A way of transferring it to your surface such as Tracedown and a biro
Something to lean on approx. 17x13 inches such as a drawing board, a flat tray, piece of wood, cardboard etc. You may wish to paint larger so please have equipment to match the size of your surface.
Something to slightly tip up your surface – a drawing board rest, slope, a pencil case, rolled up newspaper etc.
A surface that will take multiple layers of dry media. This could be pastel paper, a toothed cartridge paper or a specialist surface such as Pastelmat. The choice of colour is up to you but Ali advises something light such as white, grey or buff.
You will need an old/spare piece of paper that matches the surface you choose to use for this tutorial. There will be techniques you will want to practice before doing them on your main painting.
Framers tape/masking tape/low tac tape (for attaching things or creating a border)
Kitchen Roll and disposable hand wipes
Spray Bottle – an old one repurposed for water is fine, make sure it delivers a fine mist
Pencil & Eraser (putty and/or plastic) plus a battery eraser if you have one
Stylus for indenting the paper or an old knitting needle/crochet needle. You could try something like a cocktail stick or skewer but test that it is up to the job and doesn’t scratch the surface
Blending tools: A paper stump or specific blending tools used for pastel
Sandpaper, fine grade
A white pastel pencil
Charcoal: In any shape or form you have it, pencils, sticks (not watersoluble), powder (although we will be making our own) in any soft grades, ideally a range but if you don’t have many or wish to purchase some then B, 2B, 4B, 6B in pencils would be good. Tinted Charcoal won’t work for this tutorial but you can use it for other experiments in other membership levels this month.
Small pot or jar to store your charcoal powder when we have made it.
A notebook to jot down anything important as we go along plus a camera or smartphone to record your progress
