

Watercolour for Beginners: Session Three
This is the wonderfully exciting bit of the course when you get to start playing with paint, something I never tire of. Watercolour is so unique as it wants to be released and spread on the surface, producing interesting marks on the paper.
You will find that you want to control it and keep it within a boundary, but try to allow it some freedom to move of its own accord and create puddles of jewel-like colour on your paper.
What you will learn this session:
Introduction to brushes
Different varieties of watercolour paint and why you need to understand the difference between them
How to squeeze out colour
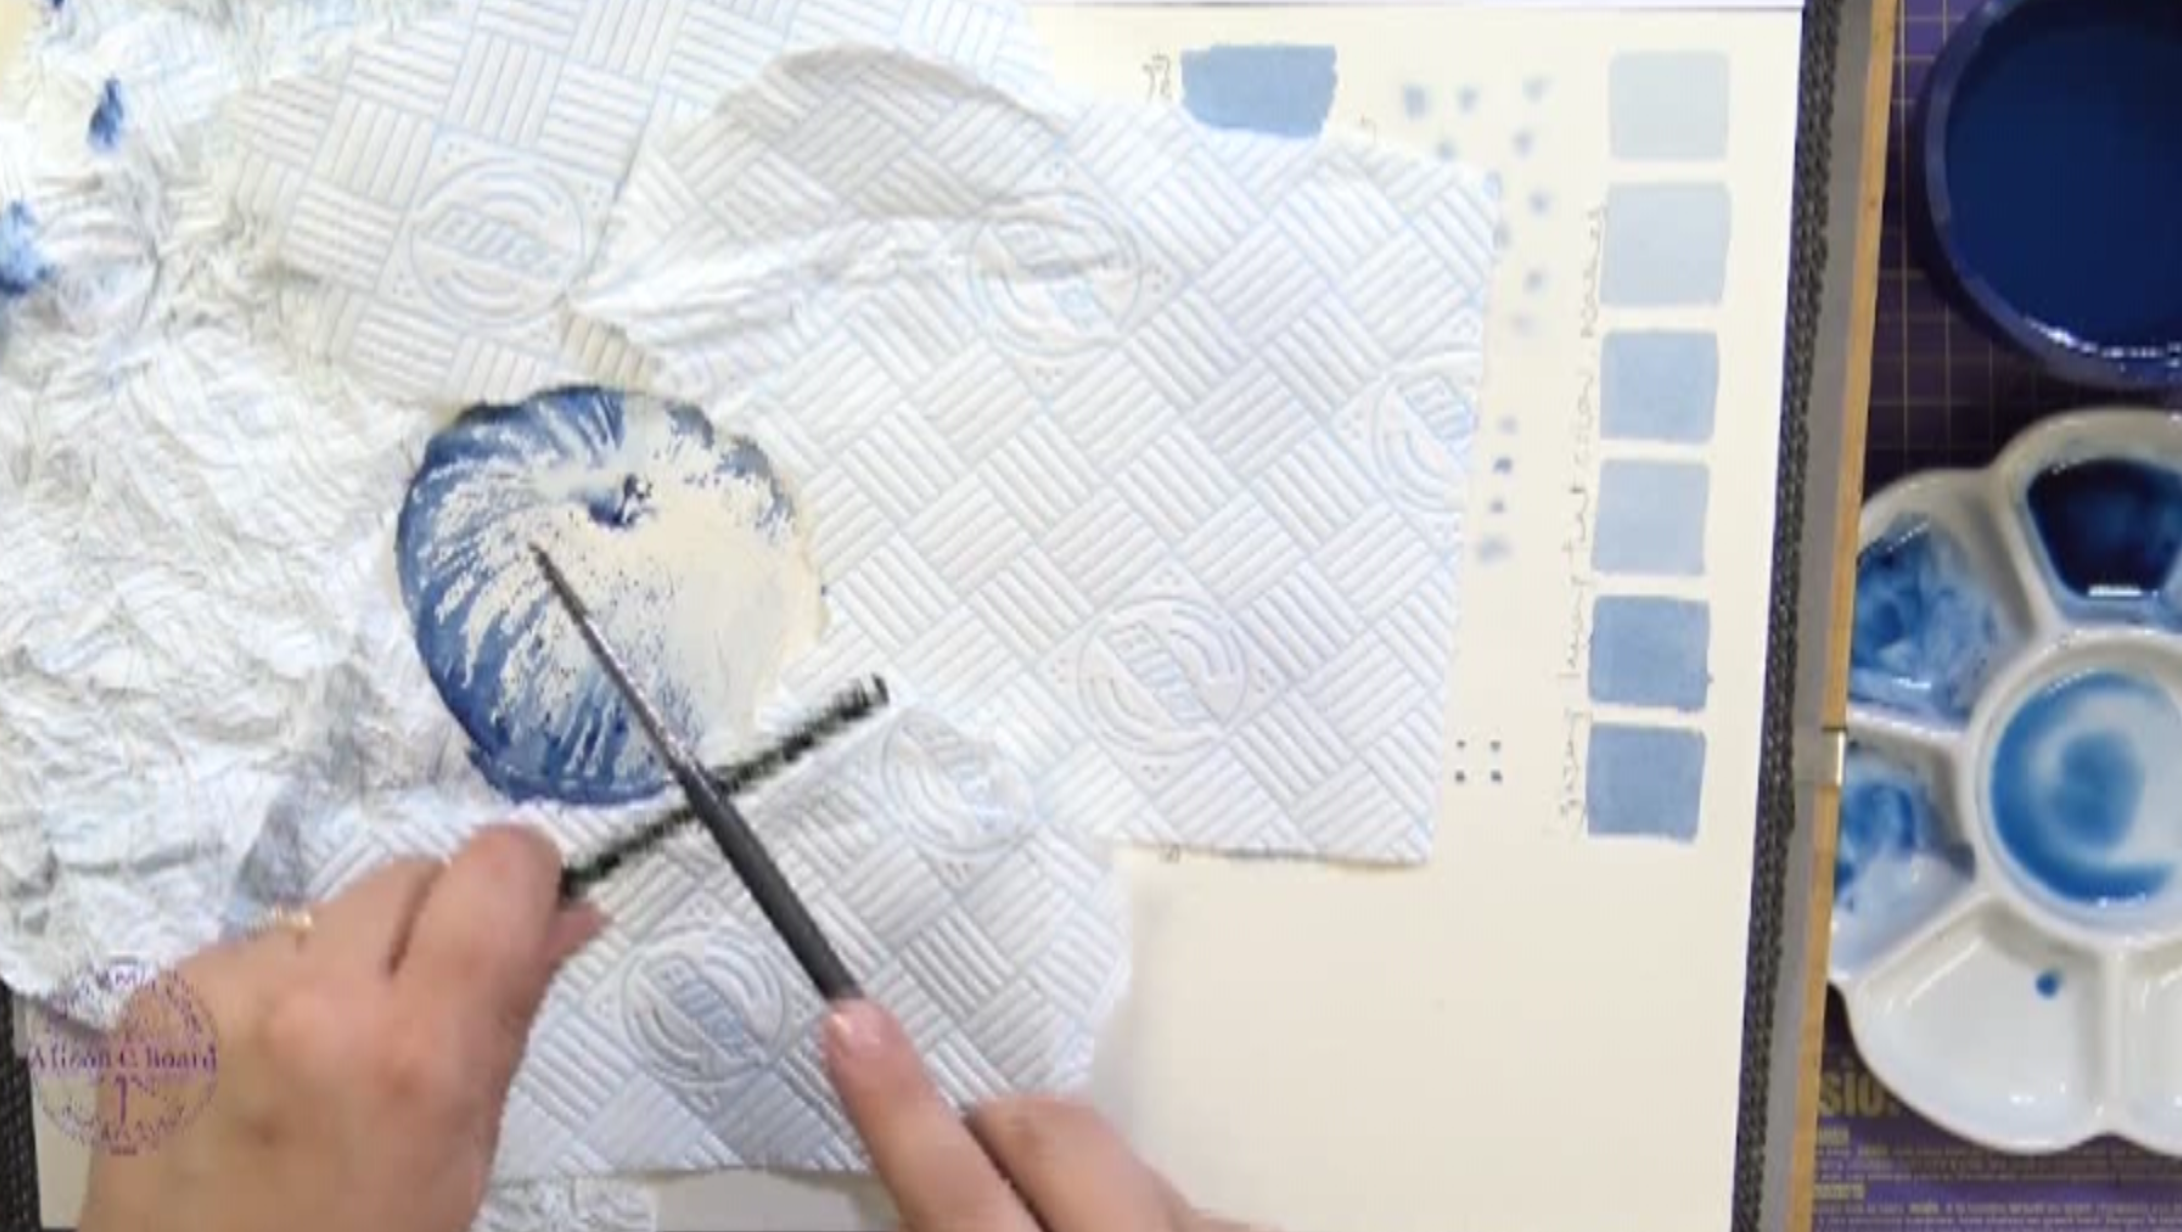
Different varieties of watercolour paper and why it matters
Mixing up different consistencies of paint
Technical terms for paint application
Your first watercolour painting
The equipment you will need in addition to previous sessions:
(Please note that this was filmed in 2021 and I have possibly altered the equipment I now use due to manufacture and availability. My online shop on this website has the most up to date versions of what I now recommend)
A large water pot, this could be a jam jar or a Clic-pot like Ali uses
Kitchen Roll
Large white plate or a daisy palette like Ali uses
Tubes of watercolour. You will need to choose one colour, Ali uses Prussian Blue for her demo
Watercolour Paper. More is explained in the tutorial.
A medium size brush. Ali uses Imitation Sable brushes, further information is given in the tutorial.
The tutorial:
Timings within the video when Ali discusses particular aspects of the exercises:
1:54 - The new materials for the week
5:35 - Paints
10:50 - Brushes
19:50 - Paper
33:50 - Squeezing out paint
36:40 - Applying to paper
41:00 - Wet into wet
43:46 - Wet onto damp
46:00 - Wet onto dry
46:26 - Blending Out
48:00 - Back runs/Cauliflowers
50:14 - Annotation
51:58 - Painting an apple
Glossary of Terms:
(Taken from the Collins Dictionary of Art Terms and Techniques)
WASH: A application of dilute watercolour to paper. Although any transparent touch of thinned-out watercolour, as distinguished from full-strength colours, can be called a wash.
Ali’s definition: This is a great explanation of the term.GLAZING: In CDATT they only describe it in reference to oil painting or ceramics.
Ali’s definition: Multiple layers of thin washes.WET INTO WET: The application of paint to a surface that already has a wet coating on it.
Ali’s definition: Again, an excellent description.BLENDING OUT: No entry in CDATT.
Ali’s definition: This is one of the first of many ‘Ali-isms’ and is best described and pulling colour from one area to another to create a graded effect.SPATTERING: No entry in CDATT.
Ali’s definition: Sometimes called ‘Splattering’ where paint is flicked at the surface. To Ali, Splattering is the result, Spattering is the technique.
Homework:
By no means compulsory, homework is only suggested to allow each participant the opportunity to expand on what they have learnt in this session:
The techniques that you have dipped your toe into today will never stop needing to be perfected or re-visited as they are the building blocks of every watercolour painting you will want to complete. Therefore, keep up the great work and revise them as often as you can. Over the remaining weeks of this course, you will see them put into practice each time and as we progress they will consider more complicated versions of the same thing.
Ali suggests that you keep painting as many things as you feel inspired to tackle, some will work out and some will need multiple attempts in your quest to improve your skills. You could, for example, try painting a simplified version of whatever you drew in the previous session.