Watercolour for Beginners: Session Seven
You made it this far! Well done and I’m sure you have an even greater appreciation of what it takes to be creative than you may have done before - it takes a great deal of thought and process but is the most fantastically absorbing and fulfilling pastime that you can have.
In this session, we start to put everything together that you have learnt so far and get to the good bit - the first of our whole projects…
What you will learn this session:
Preparing your drawing
A vignette
A sky in two layers incorporating wet into wet and blending out
Cloud rag rolling
Impressionistic Foreground
Middle distance tree
Grass texture
Composition
Lost and Found edges for atmosphere
The equipment you will need in addition to previous sessions:
The tutorial:
Timings within the video when Ali discusses particular aspects of the exercises:
2:04 - The equipment needed for this project
7:39 - Giving your subject space/a vignette
8:57 - Preparing the drawing
12:40 - Additional drawing
19:15 - Photographing your drawing
20:30 - Vignette Sky
27:54 - A second sky layer
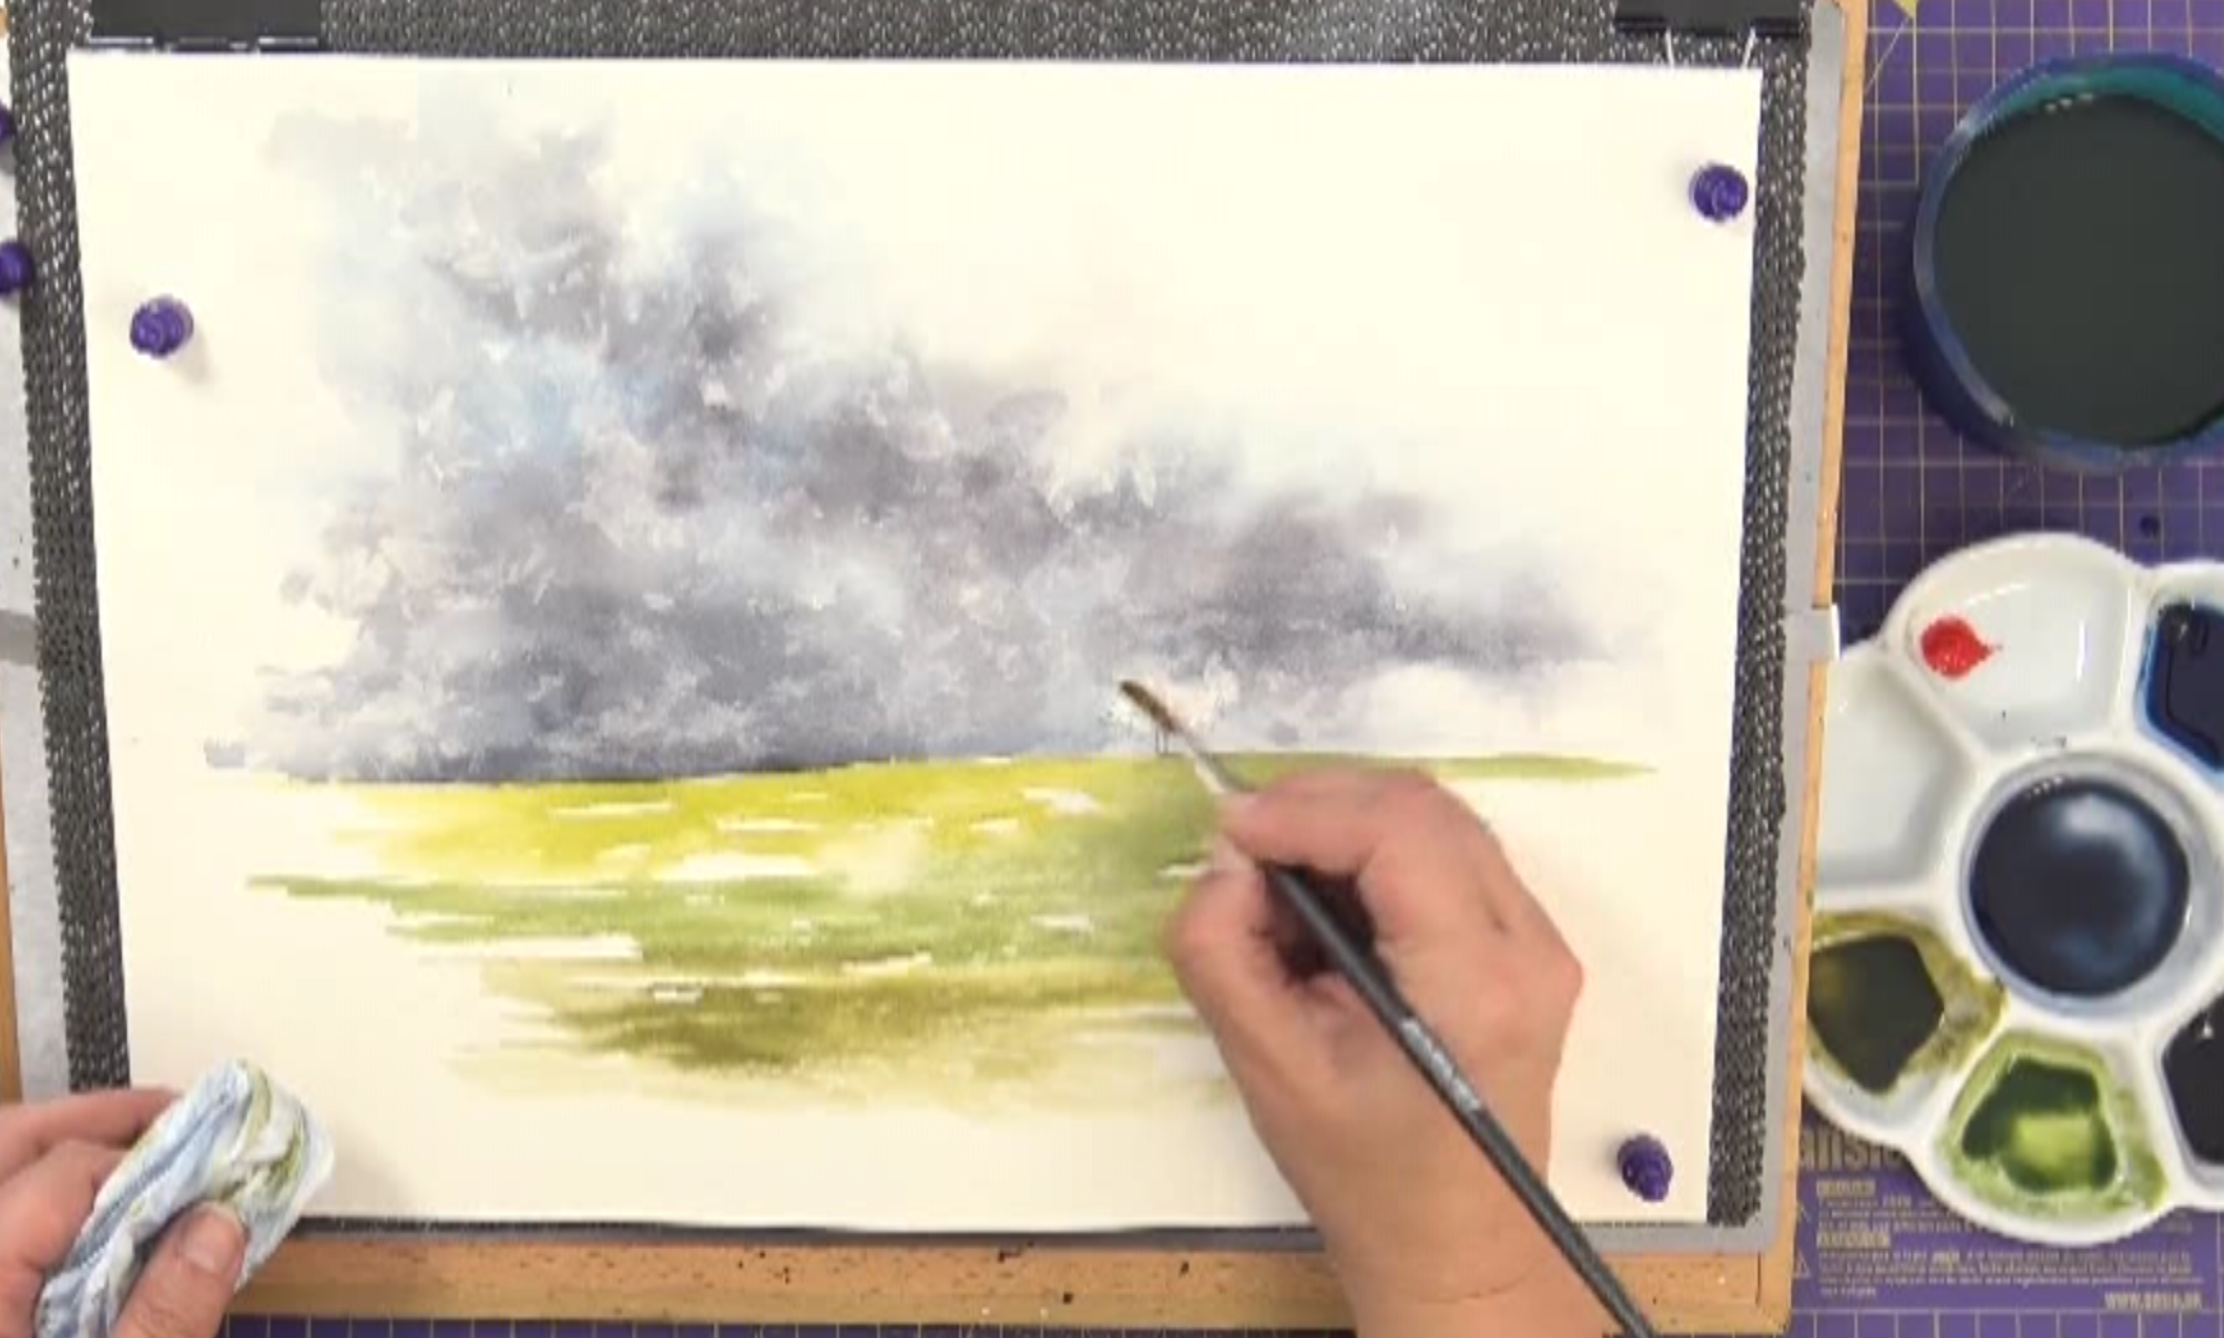
33:31 - Foreground field
38:08 - Tree
41:11 - Foreground grass and flowers
Glossary of Terms:
(Taken from the Collins Dictionary of Art Terms and Techniques)
VIGNETTE: A picture without defined borders, whose edges shade off or merge into a background.
Homework:
By no means compulsory, homework is only suggested to allow each participant the opportunity to expand on what they have learnt in this session:
Repeat this exercise as often as you like and make it your own by changing the colours or altering the composition. Make mistakes, write notes, photograph what you have done so you can compare it on a device - whatever it takes for you to understand how the paints, brushes and paper react with each other.
See you next time…
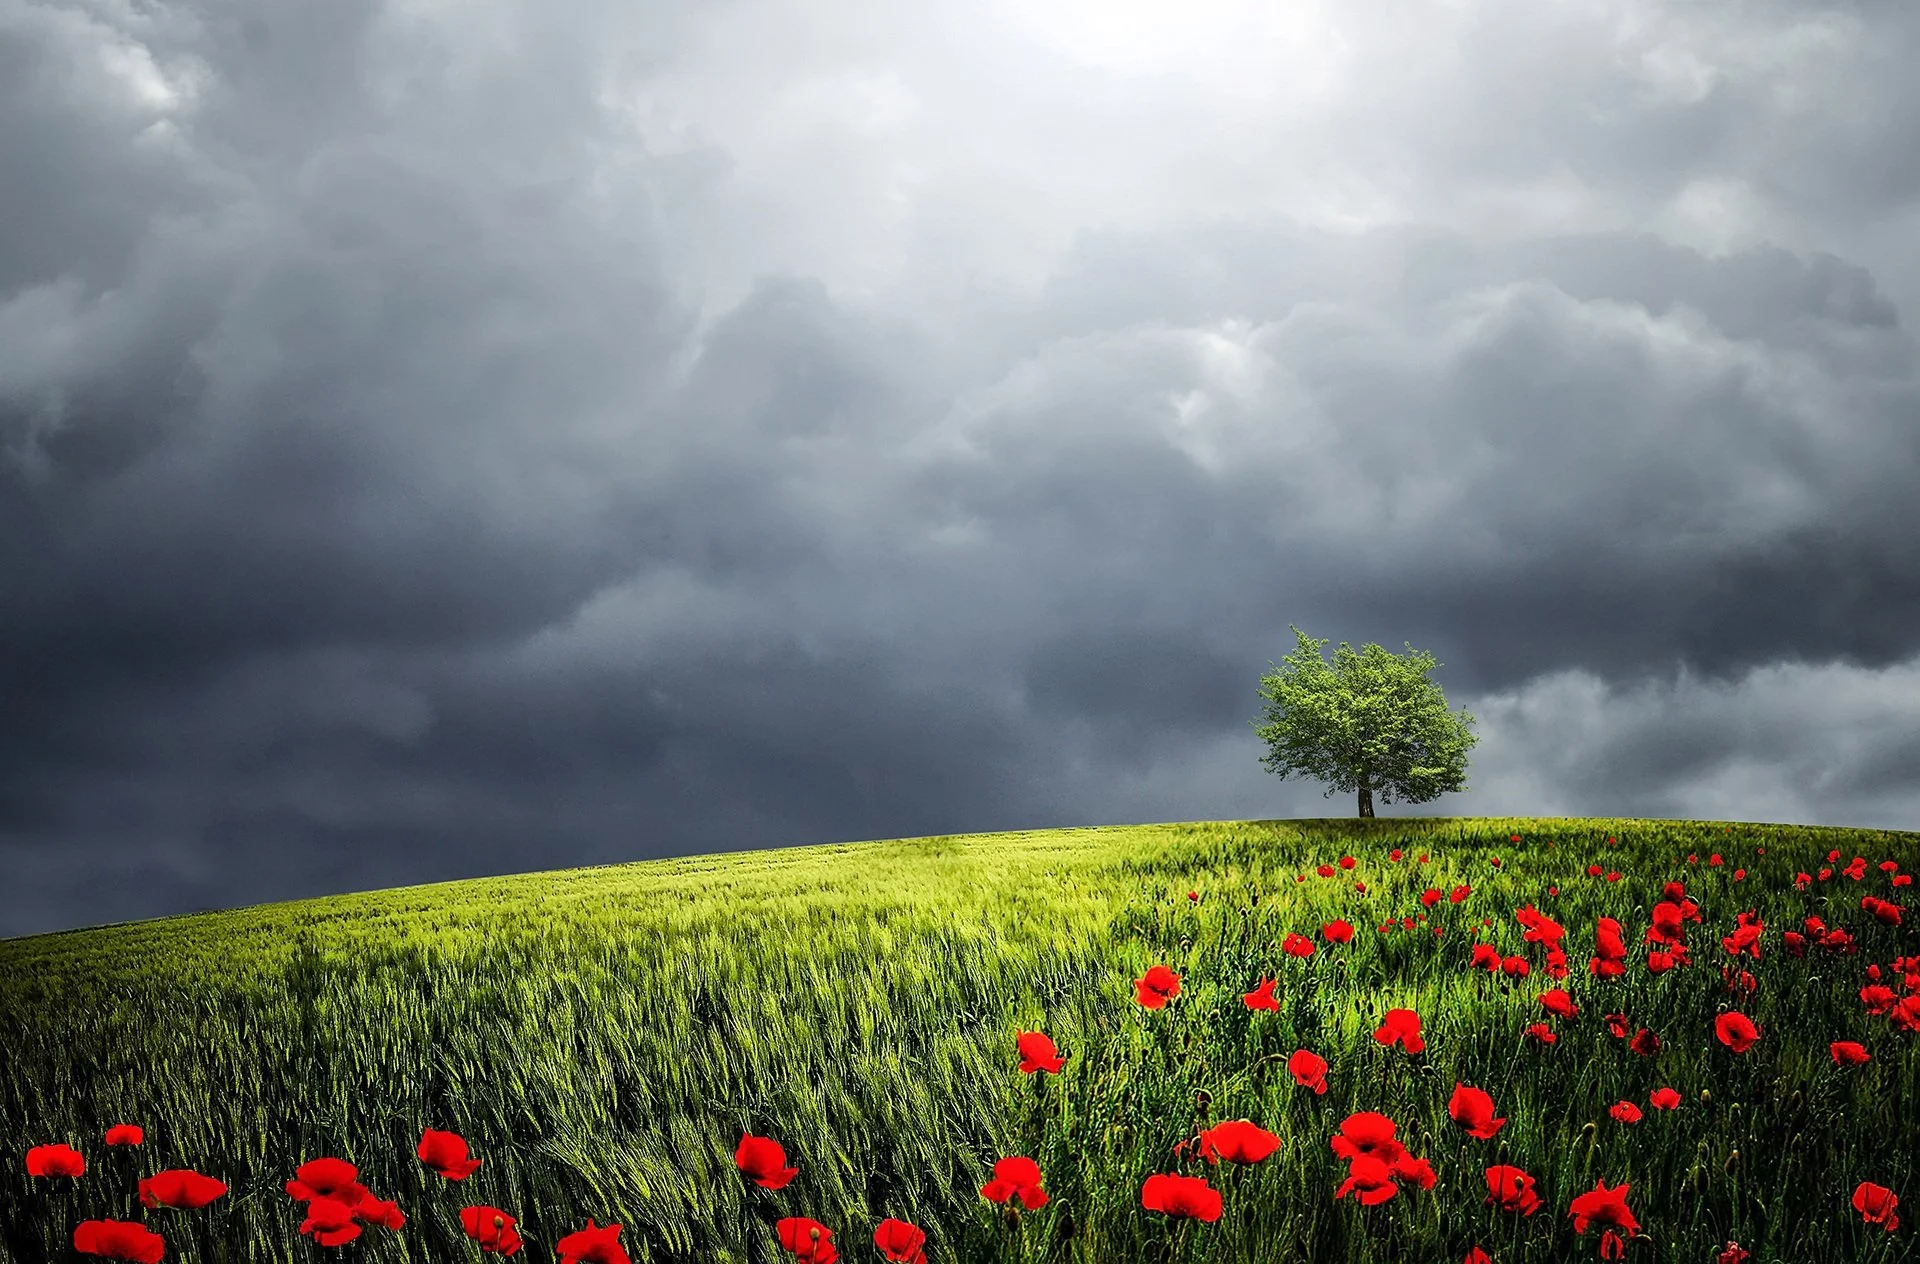
You will need to download this image and print it out, as described in the previous session and further details are given at the start of the tutorial.
Download the image HERE
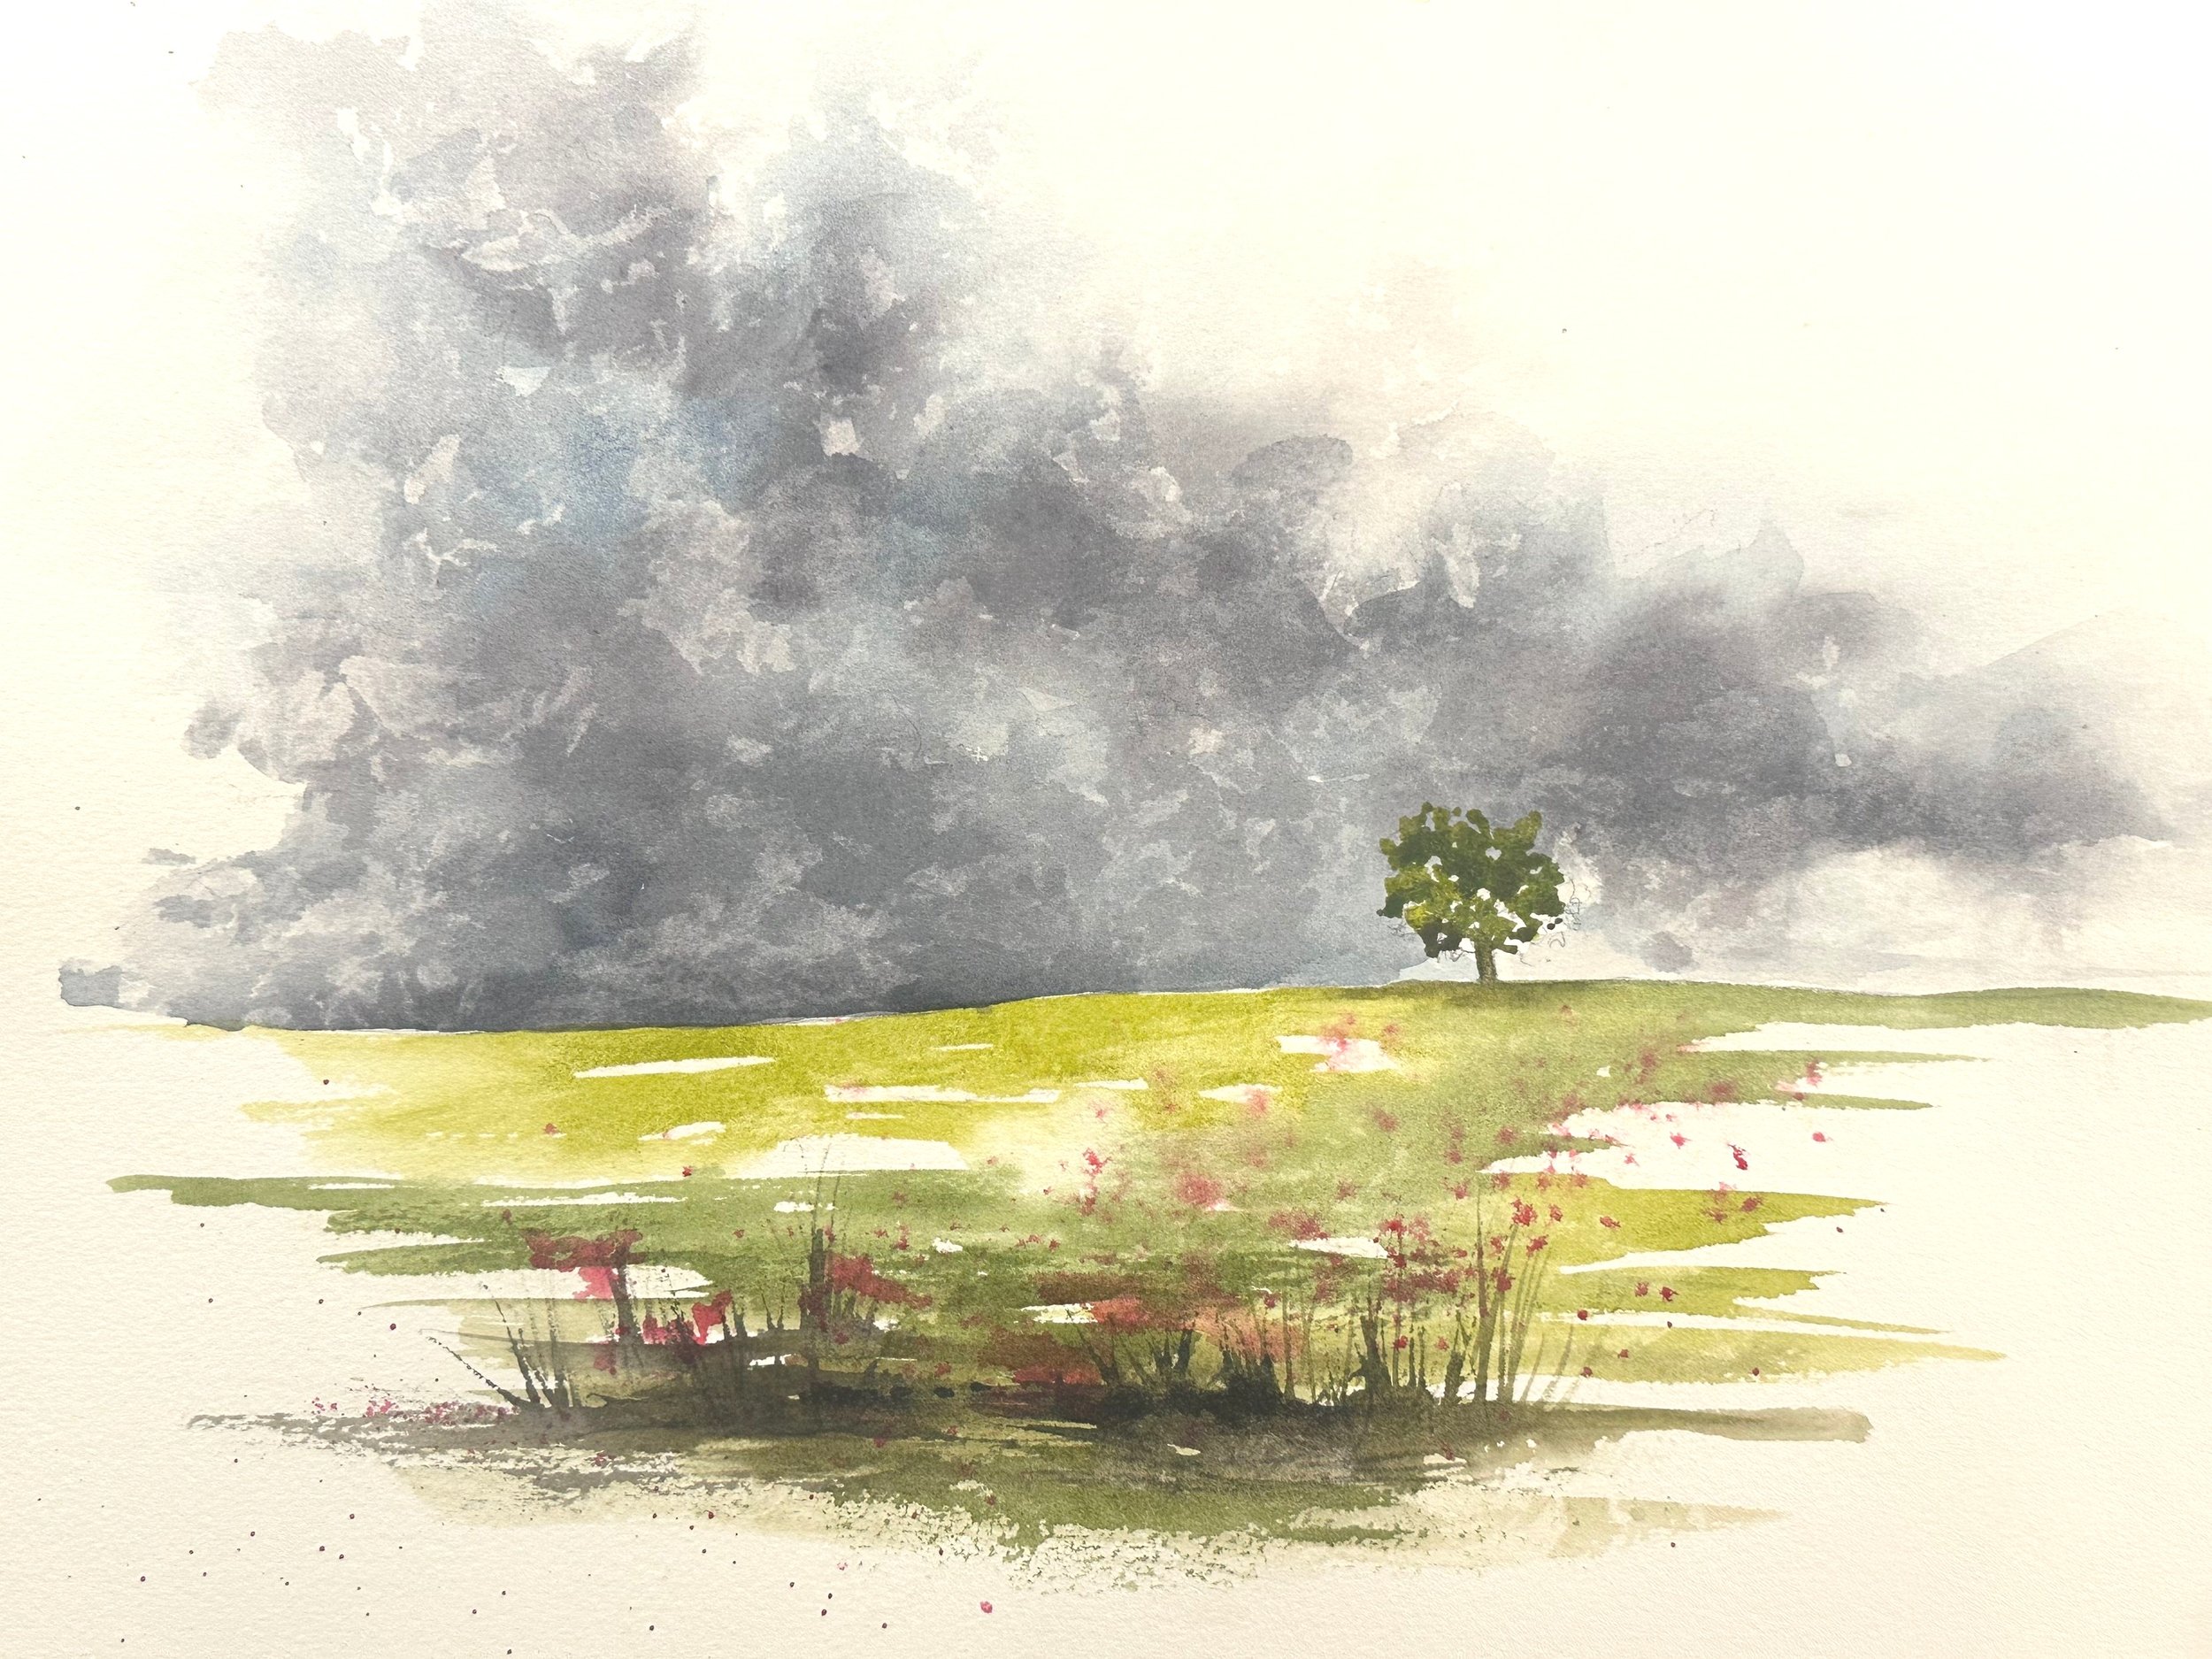
Ali’s completed painting: